Happy Valentine's Day everyone!
 Have you ever made homemade clay? I clipped a clay recipe long ago and have been wanting to try it out.
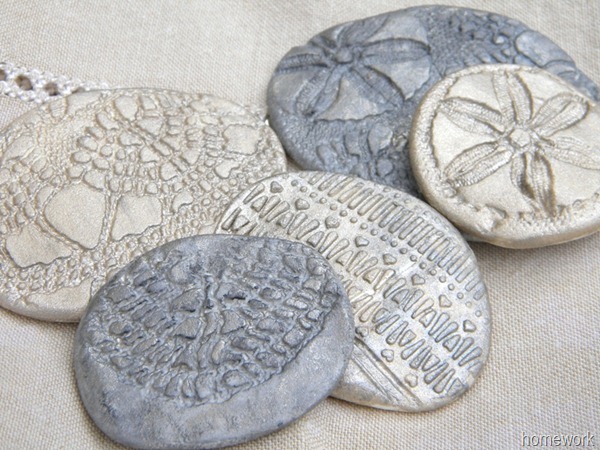 My original plan was to leave the clay medallions in their natural white clay color but I hit a snag and ended up painted them. Before I get into that, here’s how you make the clay.
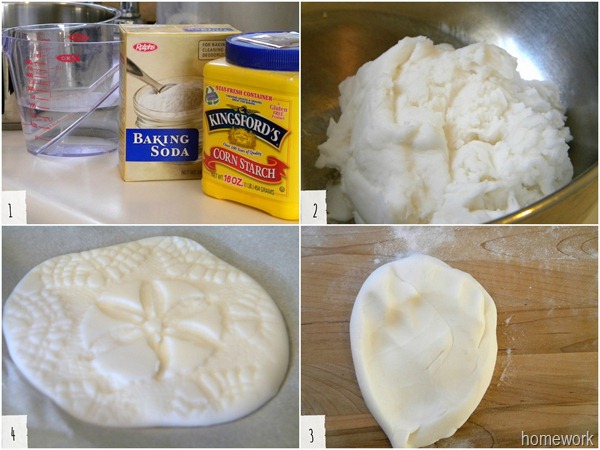 This clay is wonderful. The texture is very fine and it’s easy to work with. You can find the original recipe and more instructions on Woodside Kitchen.
- Ingredients: 1/2 cup cornstarch, 1 cup baking soda, 3/4 cup water
- Cook the ingredients in a medium sized pot and stir over medium heat. Stir constantly until it is smooth and it thickens. Remove from heat and spoon into a bowl and let it cool.
- Once the clay is cool, knead it on a smooth surface dusted with cornstarch.
- Make your creations.
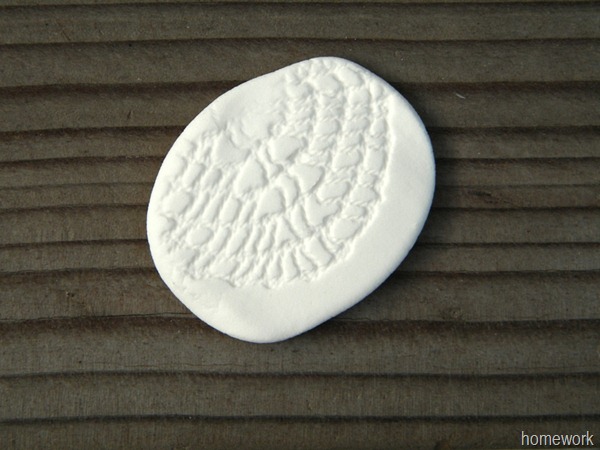 To make these medallions, I rolled small balls of the clay mixture and flattened them slightly with a rolling pin.
 I then used a crocheted doily to make these impressions. Lay the doily on the flattened clay and use the rolling pin to press it gently into the clay. Place the pieces on wax paper or parchment paper to dry. Or you can bake them in the oven at 175 degrees for an hour (turn them over halfway through cooking) to avoid curling.
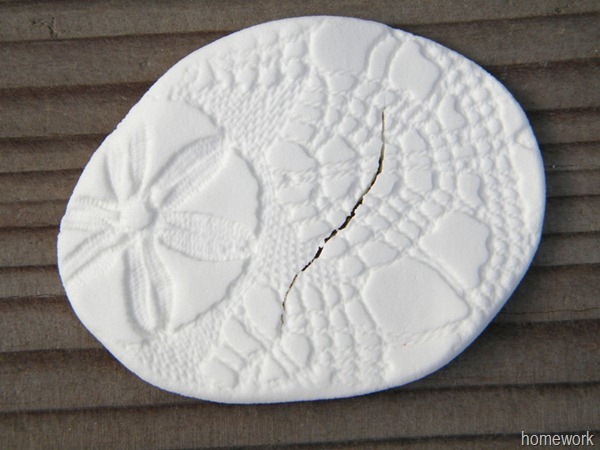 Here’s where I ran into trouble. I used the air dry method and turned the pieces but my medallions started to crack. The original instructions specifically said to knead the clay very well to avoid cracks. I guess I didn’t knead it enough.
The cracked medallions were a breath away from being thrown in the trash when I thought I’d try to fill in the cracks and save them. I used a tiny bit of Mod Podge and a toothpick and carefully dabbed it into the crack.
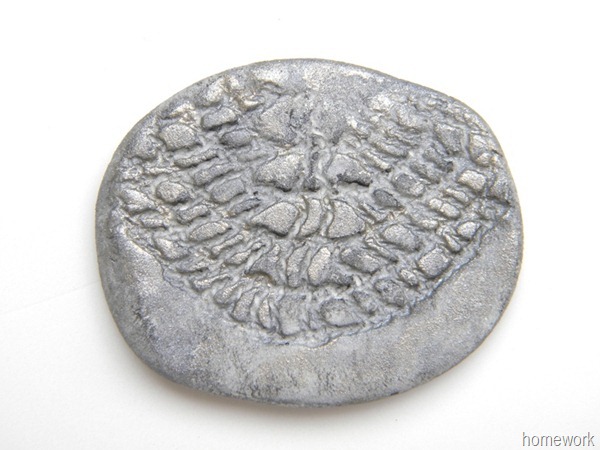 I used Folkart Metallic paint in Sterling Silver and Taupe and touches of Martha Stewart Glass Metallic paint in Black Nickel.
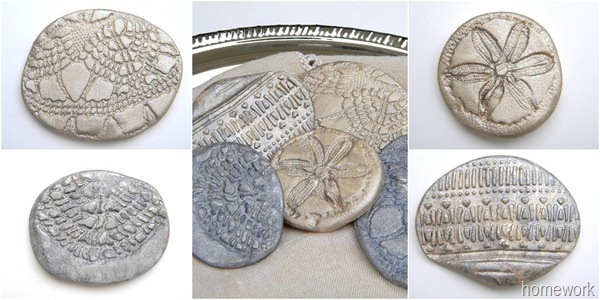
 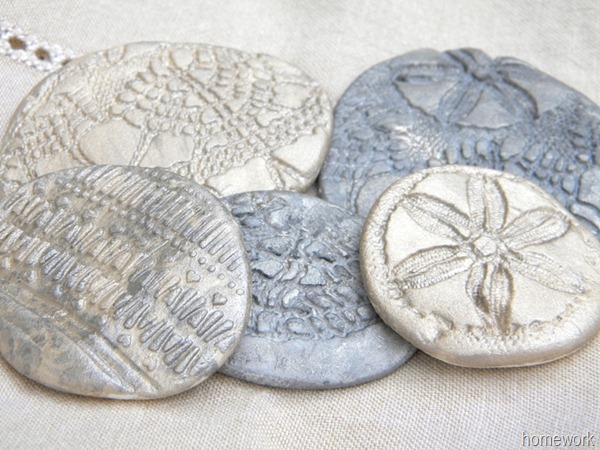 So there you have it. Homemade Clay – Take 1. I will definitely be making another batch soon (Take 2) and will knead it for much longer. If anyone has made this clay before and has any tips please let me know.
Thanks so much for stopping by ~ and a happy Valentine's Day to all of you!


Carolyn, just add a tablespoon of oil. I have several recipes for clay but each one needs fat (oil, glycerin, cold cream etc...). There is also cold porcelain made with glue....
ReplyDeleteHave a nice Valentine's Day
Thank you so much for the tip. I will try that next time.
Delete;-))) Here in France it's 10:27 in the morning.
ReplyDeleteHow pretty! I love the patterns you made =)
ReplyDeleteI haven't ventured into clay yet, but it's something I plan to try. This recipe seems very versatile, thanks for sharing!
ReplyDeleteBrilliant! And what a great save. Definitely pinning this .
ReplyDeleteWOW ...these are really unique. Funny I just liked a Pinterest receipe for Clay. will compare and someday may try this. I've a big "Bucket" list for crafting!!! Thanks for sharing and I enjoyed your lovely creations. Happy Hearts Day to You and Yours.
ReplyDeleteBeautiful work as always, they are so lovely! Just can't get enough clay inspiration, thank you and have a happy V-day dear Carolyn!
ReplyDeleteCarolyn, thanks for sharing this recipe for home made clay. The painted medallions are lovely. Using the doily for design is so smart and it gives the impression of seashore finds(shells,etc.) I would call having to repair the cracking and having to paint them a "happy accident." It adds a lot to your project, I think. Great work!
ReplyDeleteLynn
Lynn,
DeleteThank you for sharing the recipe with all of us. Yes, the repair and paint ended up being fun. I'll be using this recipe and making more things in the future.
Thanks again.
Carolyn
Wow! I'm impressed. You made clay looks so pretty! I'm pinning this for a future project!
ReplyDeleteI like these! Great idea on the crack fix. I wouldn't have thought of that! Thanks for sharing the recipe for the clay.
ReplyDeleteVery nice. Knowing how toxic real clay can be - especially while baking - this is a great recipe. I'm pinning this. I saw you at Whipperberry. Thank you! Also, I love the name of your blog!
ReplyDeleteI love it! I have this same recipe and it is my absolute favorite!
ReplyDeletehugs x
Crystelle
http://www.crystelleboutique.com/
This is so lovely, Carolyn! Thanks so much for sharing it at Project Inspire{d} and have a great week.
ReplyDelete~hugs, Mary Beth~
Oooooo - I must try this. I have worked with clay a little...but I would love to make my own...and your creations are BEAUTIFUL!
ReplyDeleteWow ... genius idea for repairing them! They look so beautiful!
ReplyDeleteThese are gorgeous, Carolyn! I've been wanting to try a technique like this for a while. I'll have to try your recipe! :)
ReplyDeleteThis comment has been removed by a blog administrator.
ReplyDelete